In order for Implicit FrontEnd for Mac to connect to your CRM server, Cross-Origin Resource Sharing (CORS) must be enabled on the server. This article is intended for IT administrators with access to the SuiteCRM server and permissions to make changes to the Web server configuration.
Enabling CORS
For Implicit FrontEnd for Mac / Mobile / OWA to work inside Outlook or inside a Web browser, CORS must be enabled on the CRM server. Cross-Origin Resource Sharing (CORS) is a security mechanism that is required in order to overcome the same-origin policy, enforced by Web browsers which prevents a script loaded from one domain from accessing another domain. In the context of an Outlook add-in, this means that an add-in loaded from a certain domain is restricted from accessing resources that reside on a different domain (e.g. your CRM server) unless CORS is enabled. Enabling CORS involves making configuration changes to the CRM web server.
For Apache
a. CORS is enabled by adding an HTTP header. Altering headers requires the use of mod_headers. The first step is to make sure Mod_headers is enabled. It should be enabled by default in Apache, however, you may want to ensure it’s enabled by running the following command:
a2enmod headers
b. To expose CORS headers, you must add the following lines inside ‘.htaccess’ file located under CRM instance root directory (e.g. ‘/var/www/html/suitecrm’).
First, make sure ‘.htaccess’ is enabled for CRM root directory in apache configuration file (apache.conf). If there is a configuration section for your CRM root folder – it must contain ‘AllowOverride’ and must be set to ‘All’. For example:
<Directory /var/www/html/suitecrm/>
    Options Indexes FollowSymLinks
    AllowOverride All
    Require all granted
</Directory>
Next, add the following lines to ‘.htaccess’:
<IfModule mod_headers.c>
    SetEnvIf Origin "https://(www\.)?(implicitfrontend\.com)$" AccessControlAllowOrigin=$0
    Header set Access-Control-Allow-Origin %{AccessControlAllowOrigin}e env=AccessControlAllowOrigin
    Header set Access-Control-Allow-Credentials true
    Header set Access-Control-Allow-Methods "GET, POST, PUT, DELETE, OPTIONS"
</IfModule>
Finally, you may need to reload Apache to make sure your changes have been applied.
# /etc/init.d/apache2 restart
or
$ sudo /etc/init.d/apache2 restart
or
$ sudo service apache2 restart
For IIS and other Web Servers
To enable CORS on IIS and other Web servers, please see https://www.w3.org/wiki/CORS_Enabled
Enabling HTTPS
Outlook Web browsers such as Chrome, IE and Safari require that the Add-in utilize HTTPS when communicating with the CRM. If your on-premise CRM server uses HTTP and not HTTPS, you’ll need to switch to using HTTPS. This requires installing a certificate on your server. If you have an SSL certificate issues by a trusted Certificate Authority (CA), please follow the instructions of your SSL certificate issuer on how to install the certificate on your web server (the instructions are dependent on which web server you are using).
If you don’t have an SSL certificate, please follow these steps:
a. Creating and Installing Self-Signed Certificate
The following article is a good step-by-step guide on creating a self-signed certificate and configuring Apache to use it:
https://www.techrepublic.com/article/how-to-create-a-self-signed-certificate-to-be-used-for-apache2
b. Configuring Safari to trust your Self-Signed Certificate
The second part of this process needs to be done on the user’s desktop. Please follow these steps:
- Launch Safari and go to your CRM server using the HTTPS URL, e.g. https://<MyCRM>.
- Since your self-signed certificate is not yet trusted, you will receive the following warning:
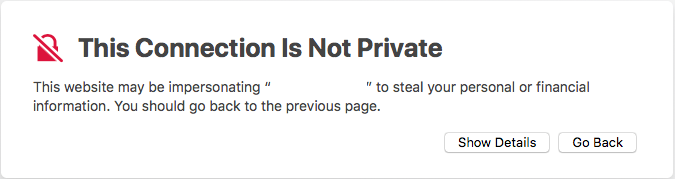
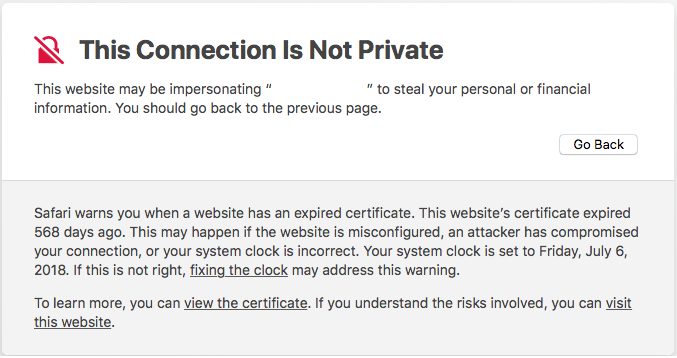
- Click ‘Show Details’. Safari will present a detailed description of the warning:
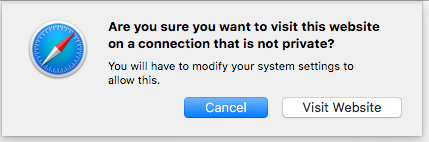
- Click ‘Visit this website’ at the bottom. You will be prompted to confirm
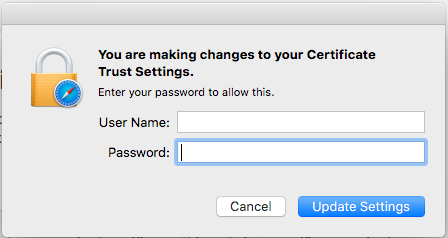
- Click ‘Visit Website’. You will prompted to enter your MacOS credentials and click ‘Update Settings’ to confirm making changes to your Certificate Trust Setting:
- This is all you need to do to trust the certificate and enable https access to your CRM. Safari will now allow your HTTPS request to go through present your CRM login page.
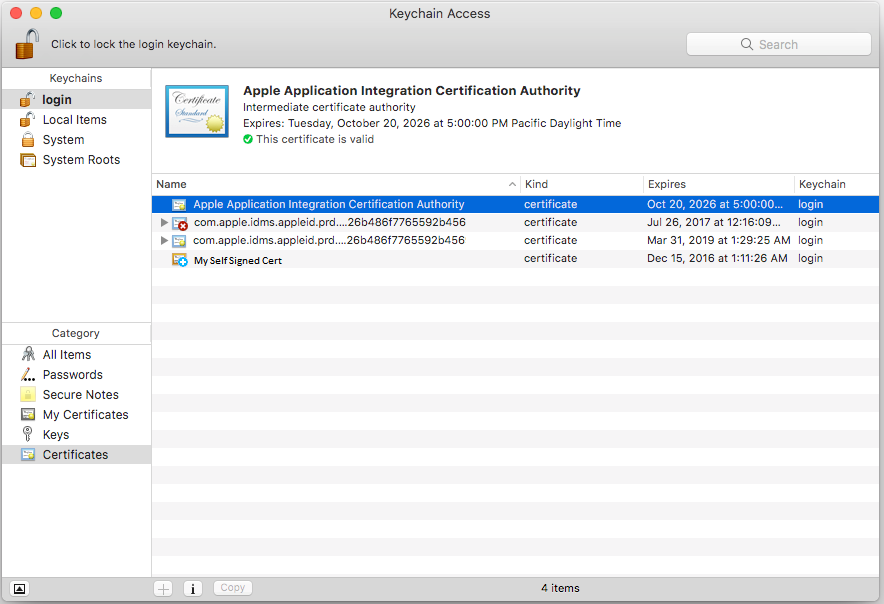
- If you like, you launch the keychain Access app to verify that the certificate has been added:
- You can now proceed to installing the add-in on your Office 365 account or your Exchange server.